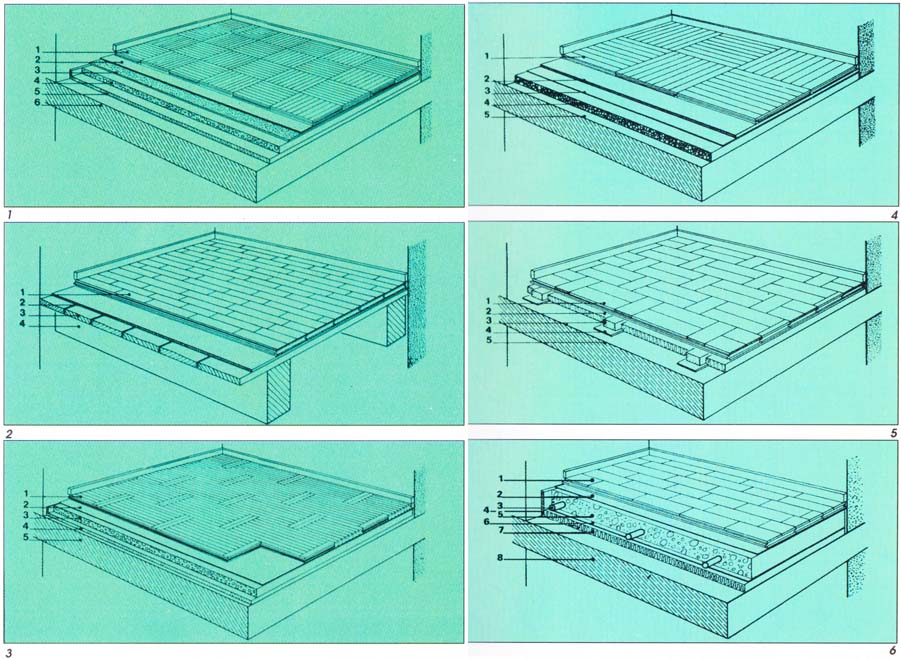
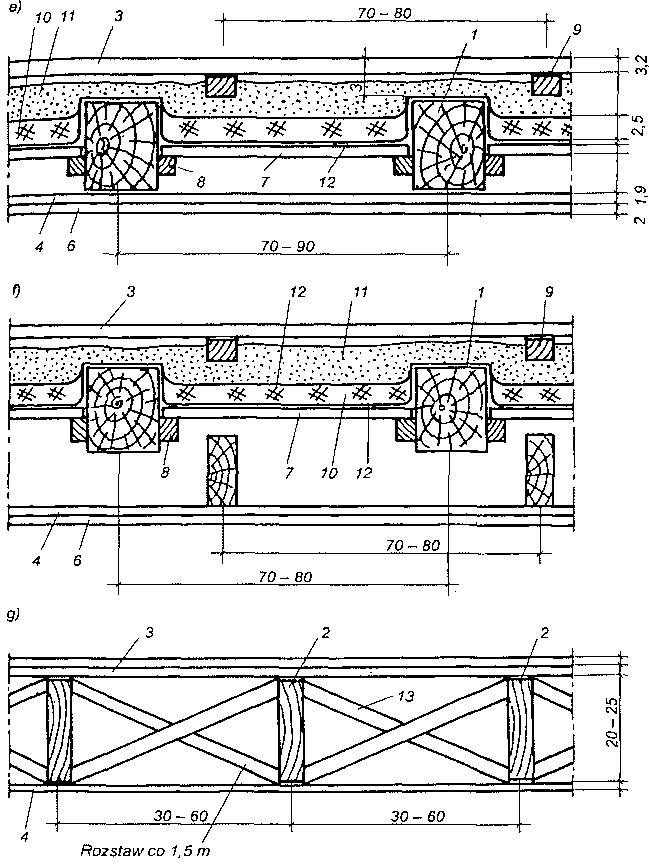
Układanie elementów gotowego parkietu na legarach podłogowych wchodzi w rachubę zasadniczo na surowych stropach betonowych. Stosuje się tu elementy parkietu grubości 22 mm, sklejane ze sobą na wpust i wypust, które przybija się gwoździami do legarów.
Odległości osi legarów podłogowych należy tak dobrać, aby nie przekroczyć maksymalnego rozstawu podpór, podanego przez producenta parkietu.
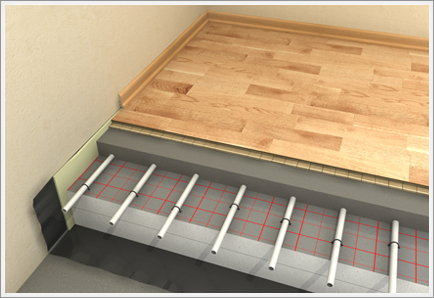
Legary podłogowe układa się przy tym bez dotykania do ścian, “pływająco”, na brzegowych pasach materiału izolacyjnego. Oznacza to, że nie następuje żadne zamocowanie do surowego stropu.
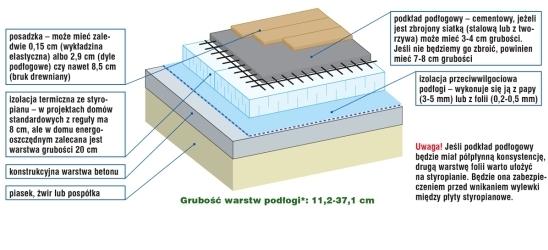
Dla lepszej izolacji przeciw-dźwiękowej i cieplnej można wolną przestrzeń pomiędzy legarami wypełnić płytami izolacyjnymi. Odległość pomiędzy warstwą materiału izolacyjnego a parkietem powinna wynosić ok. 10-15 mm.
Przy układaniu na legarach podłogowych należy szczególnie uważać na wysokość przewidzianych, sąsiednich podłóg. Z reguły również tam będzie wykonane podłoże z legarów podłogowych, przy czym jego wysokość należy wówczas dokładnie dopasować z uwzględnieniem grubości przewidzianej wykładziny podłogi, do wysokości już ułożonej podłogi parkietowej.
Przybijanie gwoździami elementów gotowego parkietu może być wykonywane skośnie przez wpust lub skośnie przez dolną wargę wpustu.
Aby zapobiec uszkodzeniom drewna zaleca się majsterkowiczowi raczej przybijanie przez wpust.
Układa się pierwszy rząd “desek” i przybija gwoździami do legarów podłogowych i skleja stykające się czoła. Należy zwracać uwagę na zachowanie minimalnych 15 mm odległości od ściany (przy bardzo wielkich powierzchniach 2 mm na metr bieżący).
Powstającą szczelinę dylatacyjną zabezpiecza się drewnianymi klinami. Dokładnie mierzy się wymaganą długość ostatniej “deski” pierwszego rzędu przy uwzględnieniu odstępu do ściany. Wymiar przenosi się calówka i kątownikiem na przewidzianą “deskę”.
Do przycinania desek na długość można stosować stacjonarna piłę tarczową, jak również ręczną piłę tarczową, piłę lisicę lub piłę stolarską. Jeżeli układa się “deski” wg występujących długości (reszta z danego rzędu jest stosowana jako początek następnego rzędu), miejsce przecinania znajduje się zawsze na brzegu powierzchni.
Późniejsze przykrycie listwą przyścienną niewielkie niedokładności przy przycinaniu.
Przed osadzeniem każdej następnej “deski” nakłada się klej na łączne czoło i wzdłużną stronę “deski”.
W zależności od sposobu postępowania przy przybijaniu gwoździami klej nakłada się na wypust lub wypust. Jeżeli przybija się deski przez wypusty, to do nakładania kleju lepiej jest stosować butelkę z klejem.
“Deskę” osadza się możliwie ściśle na jej stronie czołowej, a następnie zamyka wzdłużną szczelinę do poprzedniego rzędu.
Przy pobijaniu młotkiem należy postępować bardzo ostrożnie, aby nie rozdzielić już ułożonych “desek”. Gdy złącze czołowe dwóch sąsiednich “desek” nie jest ściśle zamknięte stosuje się w strefie brzegowej tzw. “żelazne ciągadło”.
Aby unikać uszkodzenia drewna stosuje się przy łączeniu “desek” kawał krawędziaka, wzgl. resztówkę “deski” jako drewno do pobijania.
Jeżeli brak jest ww. narzędzia można zastosować inne, odpowiednie, które może być użyte jako dźwignia.
Przy zastosowaniu żelaznego ciągadła należy bezwzględnie zważać na to, by przeciwległa szczelina dylatacyjna nie została zwężona.
Przybijanie “desek” odbywa się skośnie przez wypust lub przez dolną wargę wpustu. Gwoździe wbija się przy tym tak głęboko, by można osadzać bez trudu łączące się “deski”.


